Get Started with Cryptohopper
In this article, we'll explain how you can start with Cryptohopper. We'll cover everything you need to know to give you a jumpstart as a fresh new trader on Cryptohopper!
Prerequisites#
Before you begin, ensure that you have the following prerequisites:
- Good energy to start with Cryptohopper
Getting started as a new user with the "New User Experience".#
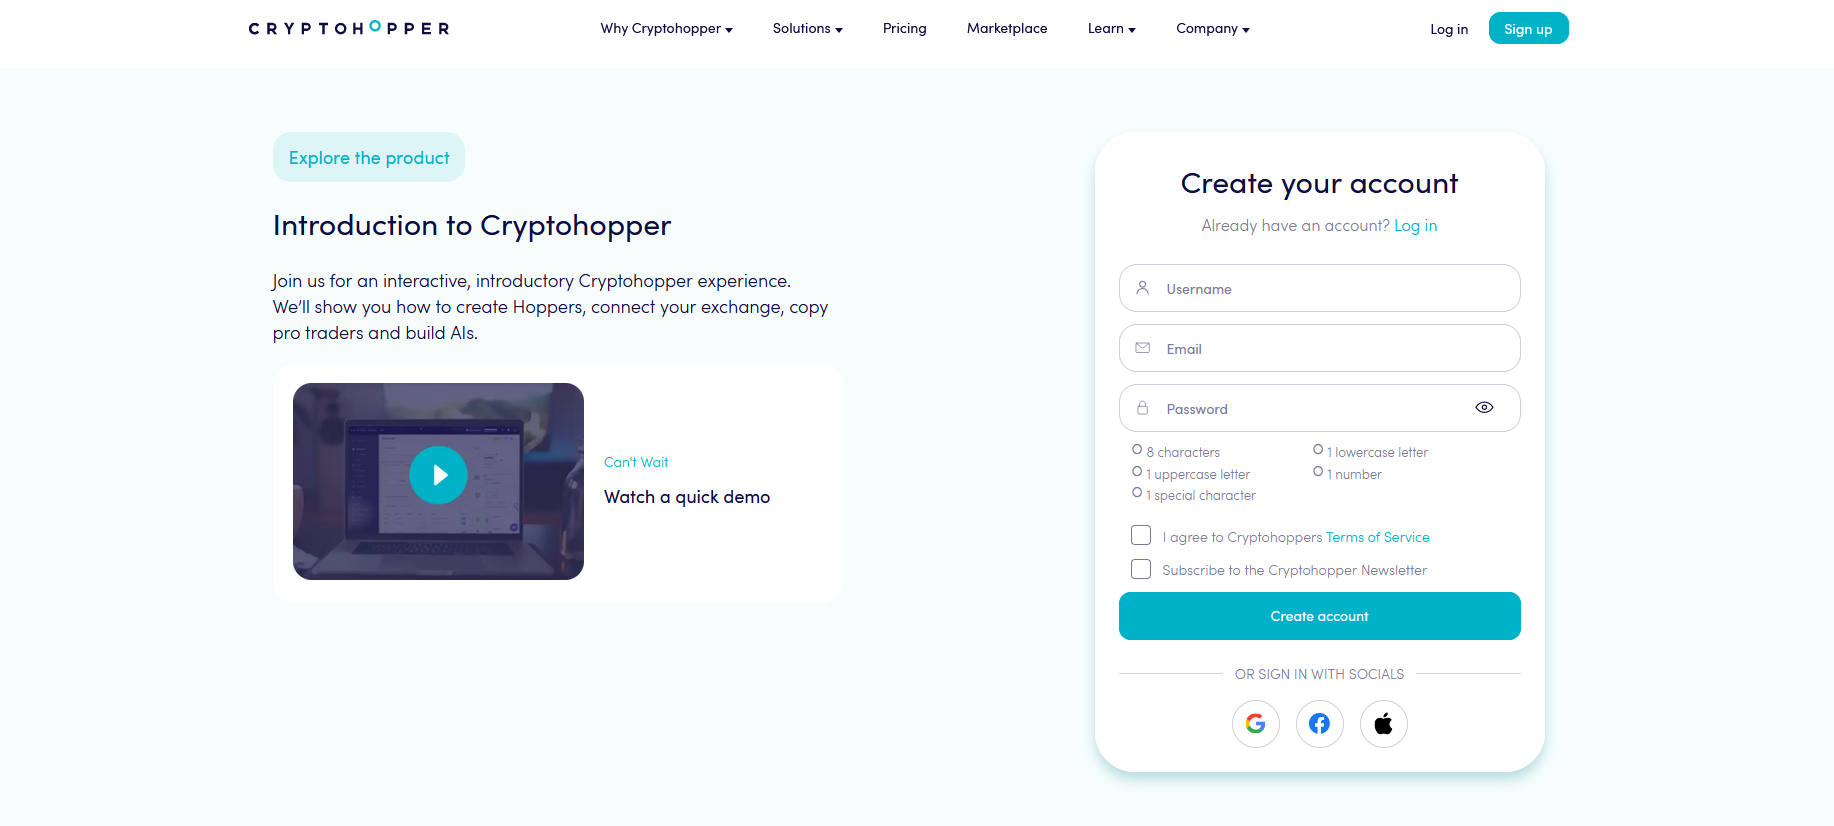
1. Create your account: register for a free account
You only need a username, email address, and a strong password. You can also use your social media logins (Google, Meta, or Apple) to register.
Subscribe to our newsletter so you receive market analysis, expert opinions, and trading tips directly in your inbox.
2. Set up your bot
When you log in for the first time, we will assist you with setting up your first bot.
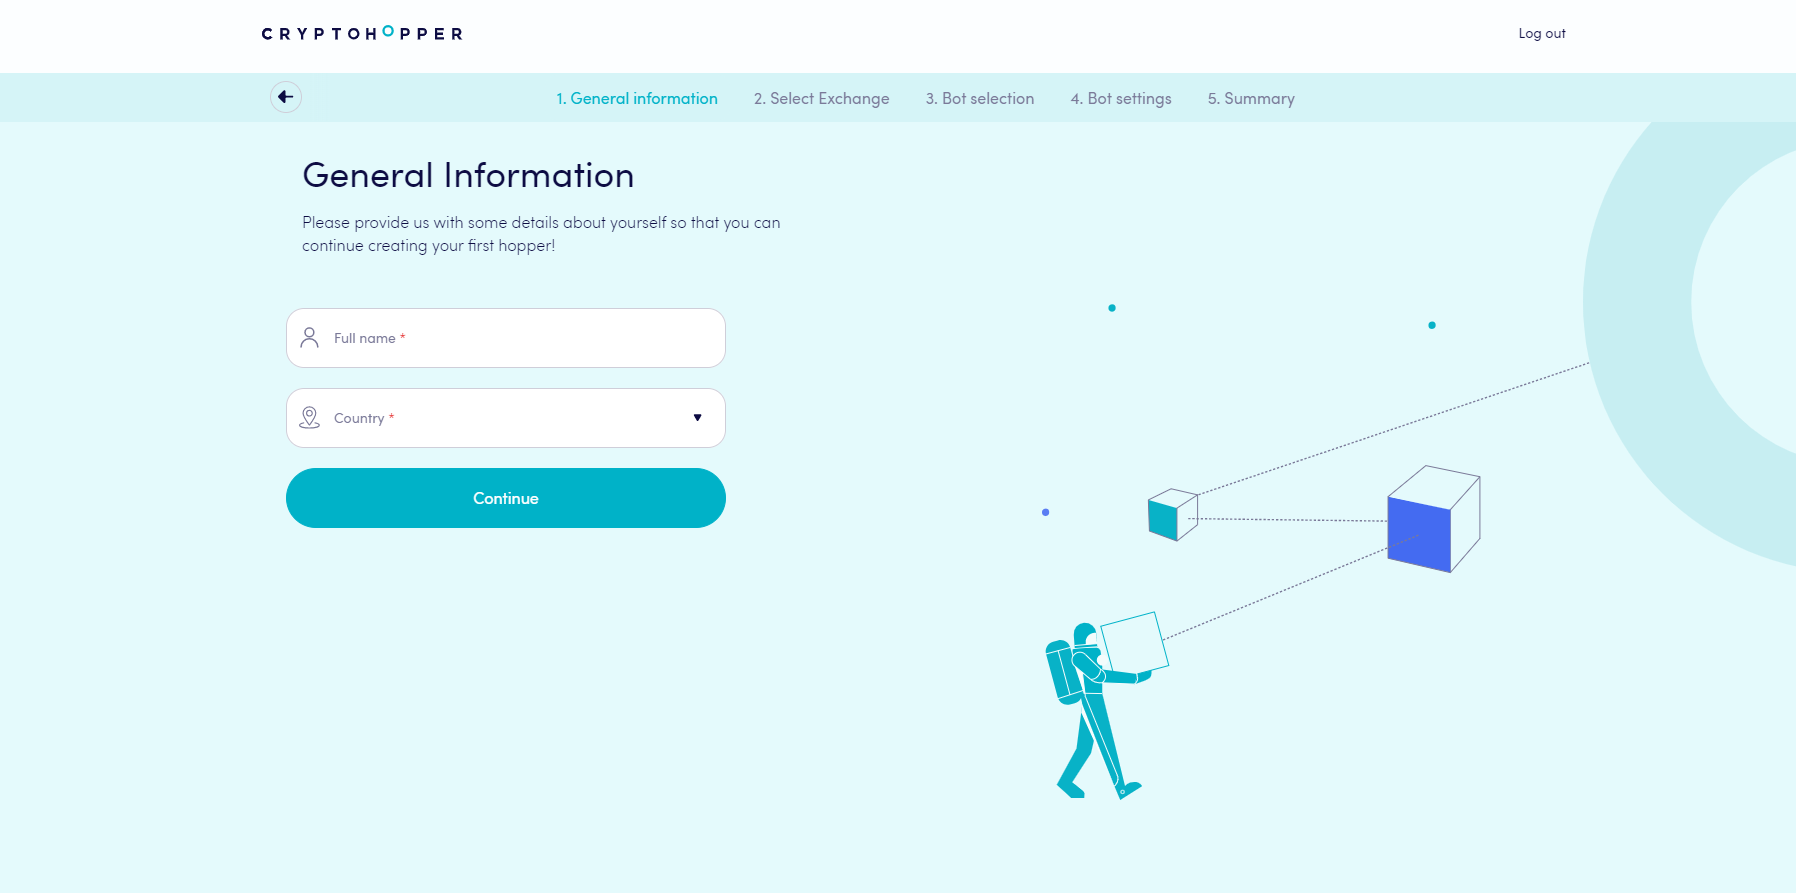
3. General Information
Enter your full name and your country of residence.
4. Connect an exchange
To start automated trading with Cryptohopper, you need an exchange account. Sign up at your preferred exchange or select the exchange you currently use to trade. Your funds will always remain on the exchange.
Tip: If you don't have an exchange account yet or wish to explore the Cryptohopper platform without connecting an exchange, you can select 'Simulated funds' in the next step.
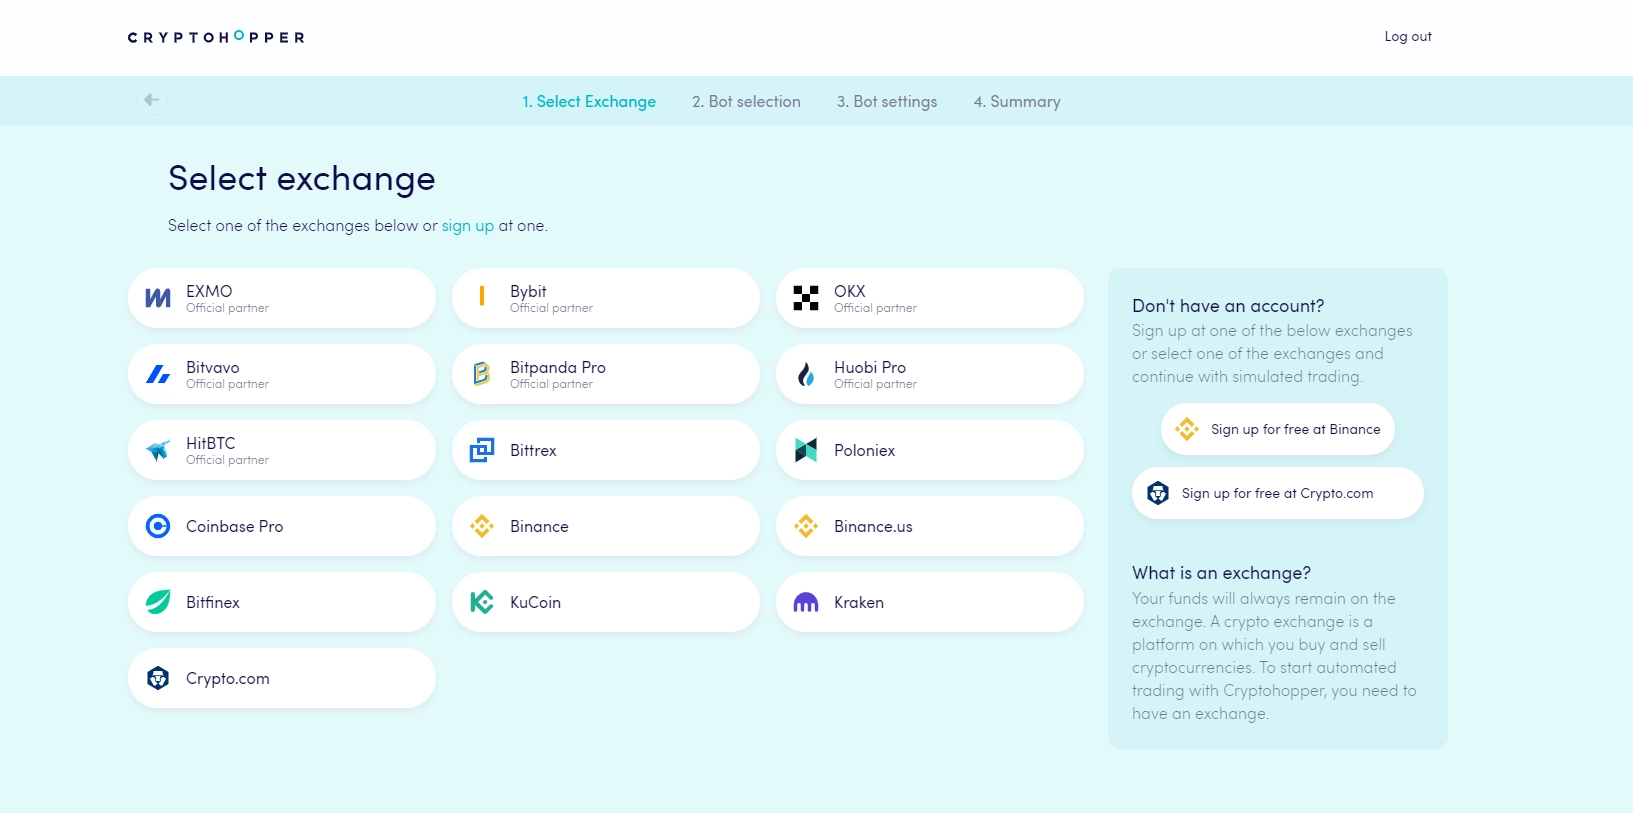
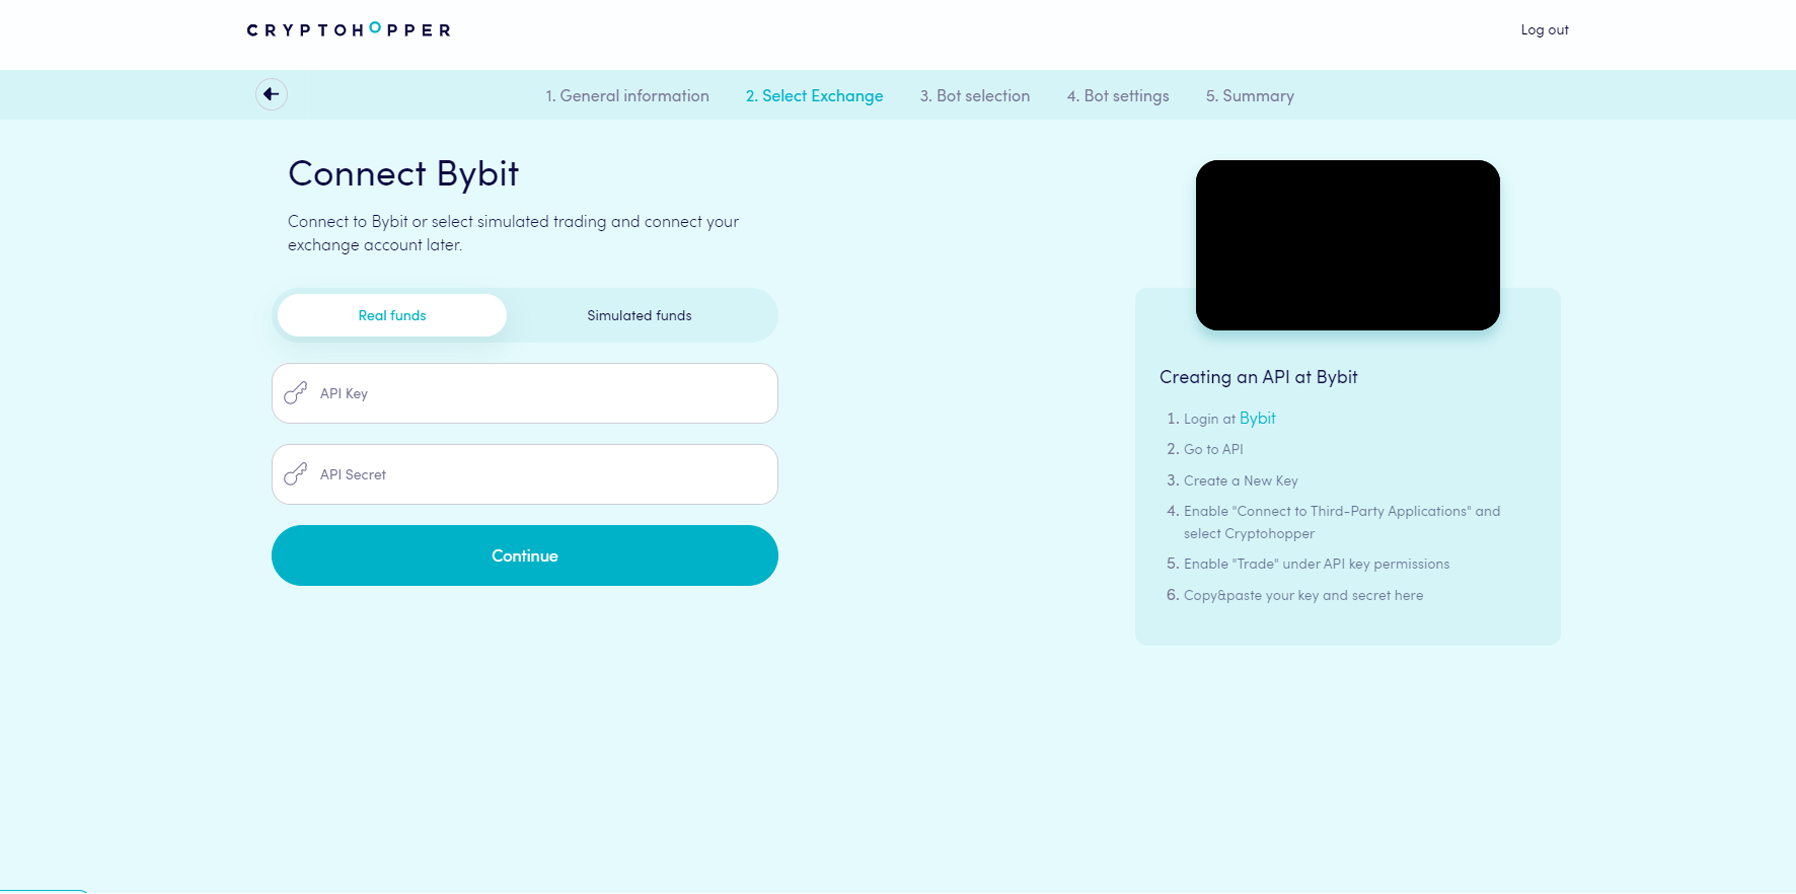
5. API Keys or simulated funds
To set up a connection between Cryptohopper and your exchange you will need to enter your API keys. You can find detailed instructions per exchange here.
You can explore the Cryptohopper platform without connecting to an exchange, by selecting 'simulated funds'. In that case, we will create a simulated bot with a trading balance for you.
6. Select a quote currency
Your quote currency is used to buy coins. Sold positions will be automatically converted into your selected quote currency. You can choose from a range of quote currencies. If you're new to trading, we recommend using a stablecoin such as USDT or EUR.
Tip: if you wish to use another quote currency than shown in the drop-down, you can switch later after the initial setup of your bot.
7. Configure your bot
There are two ways to configure your bot:
- Follow signals. Simplify your trading by using signals from a third-party analyst. This is a great option for beginners or those looking for a quick and easy setup.
- Build your bot. For experienced traders, customize your trading by implementing your own technical analysis and automating your existing strategy. This option requires initial setup and ongoing monitoring.
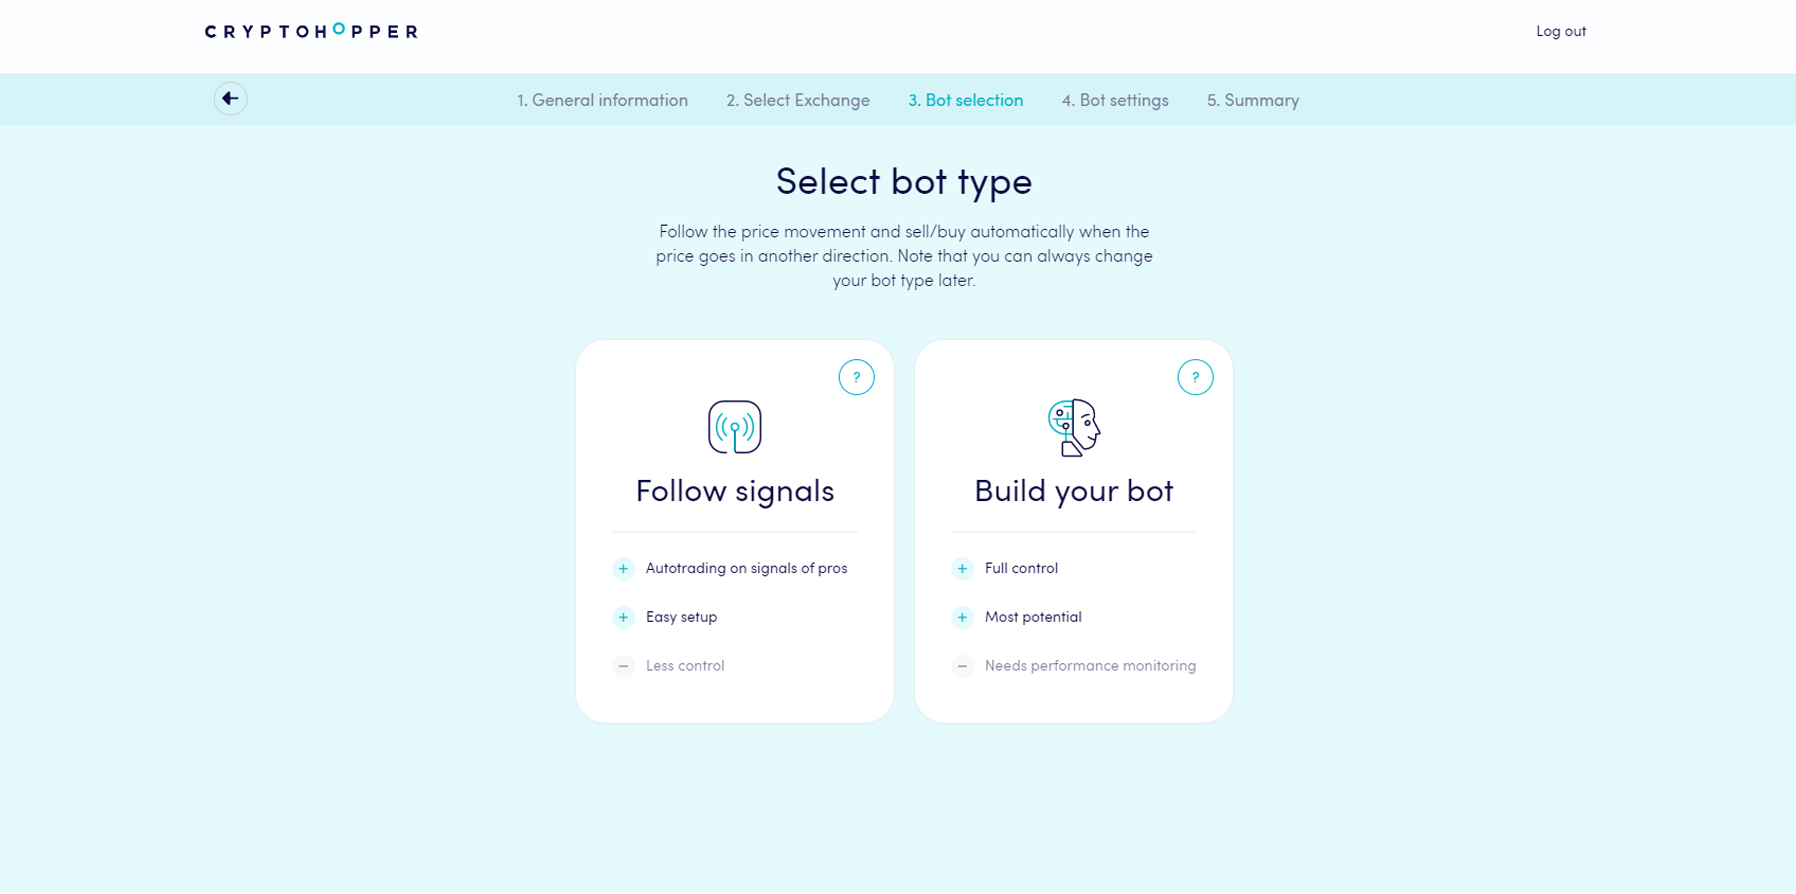
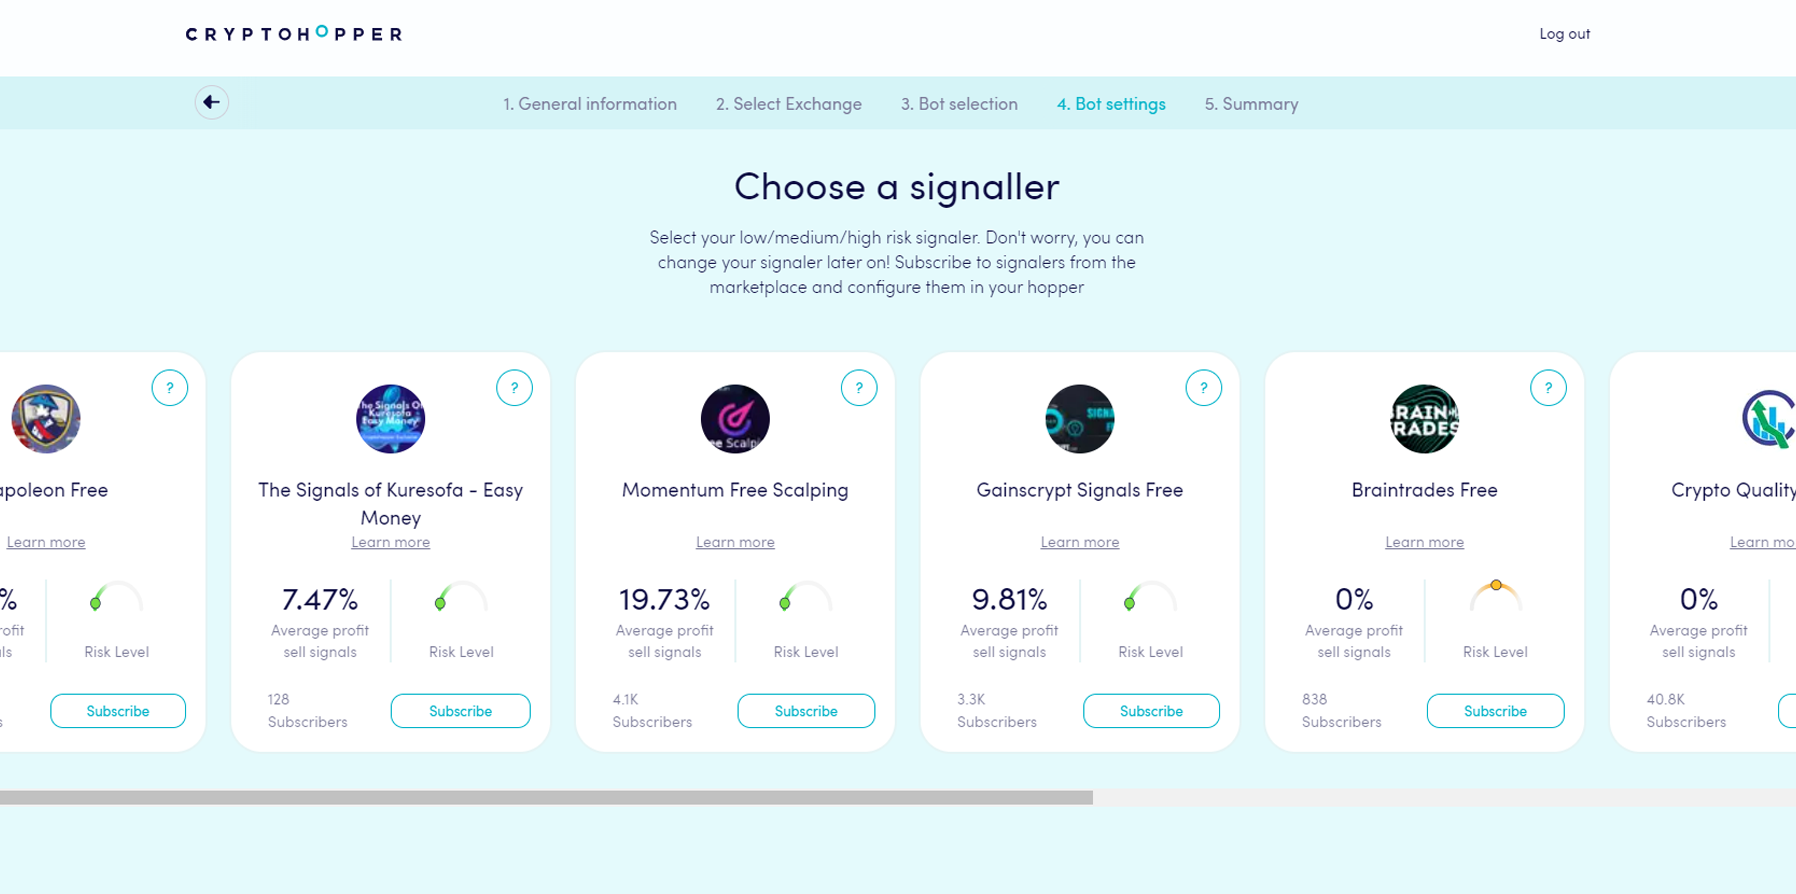
7.1 Signal Bot
Get started with automation easily by using our preselected, free signal providers. Select one to proceed. Click 'Learn more' to get more information about each signal provider's historical performance.
Your bot can run with multiple signal providers, so after building your first bot, you should definitely browse Cryptohopper's marketplace Link to find and test a wide selection of signal providers.
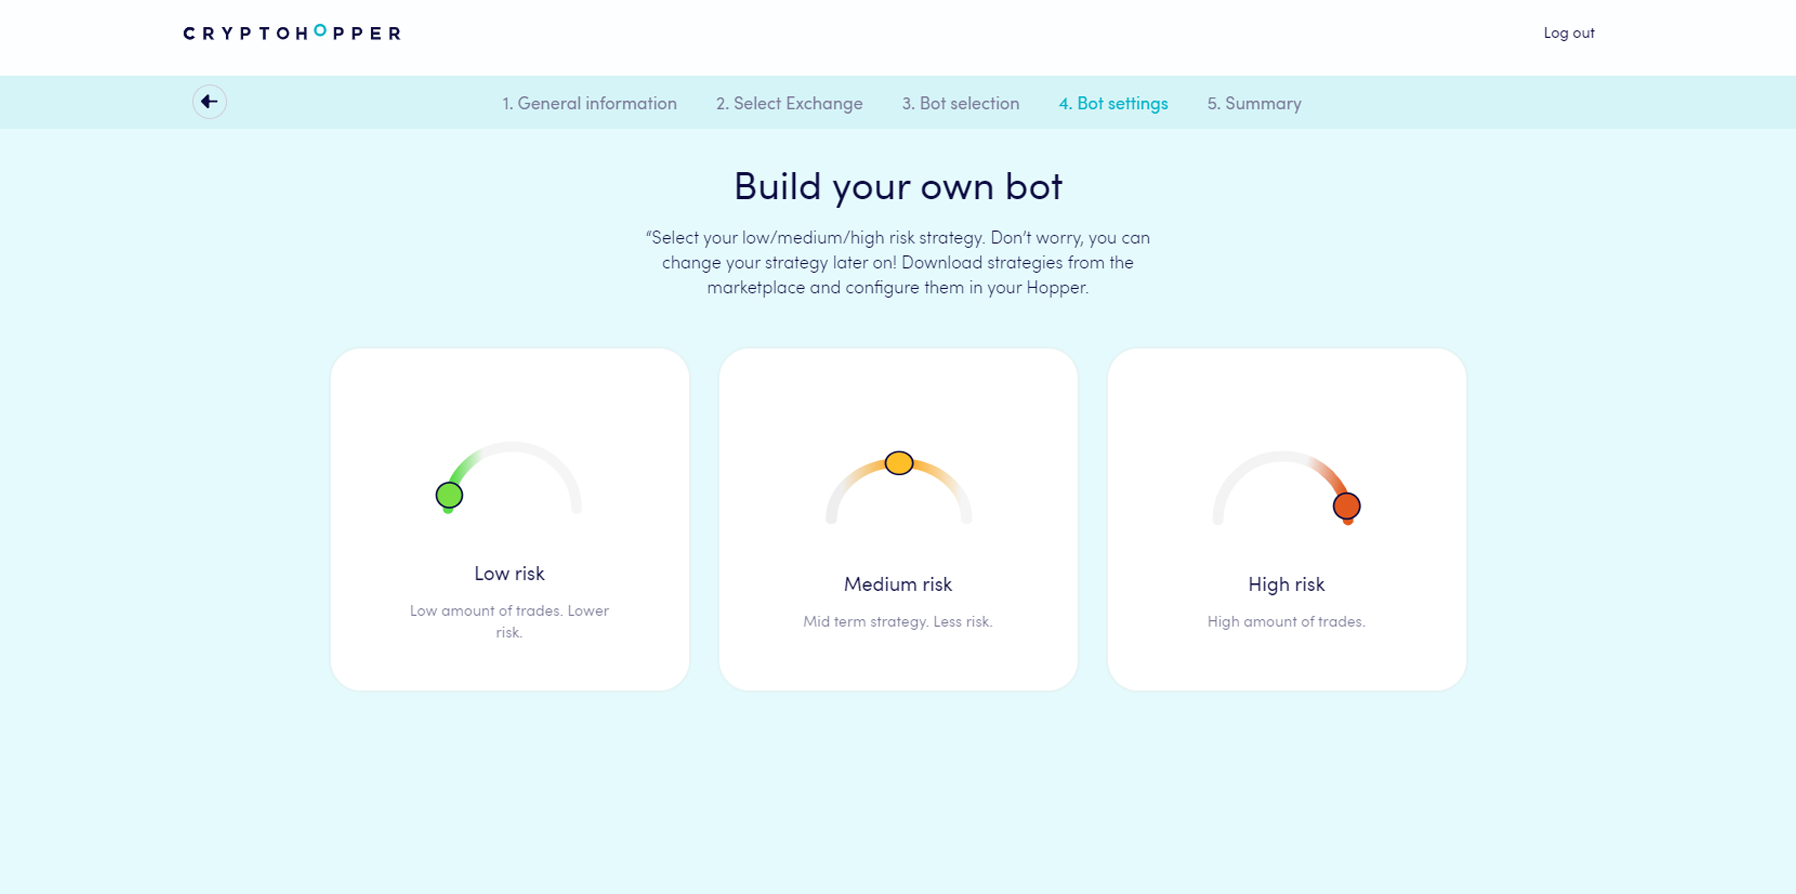
7.2 Build your bot
Choose your preferred risk level and let us set up a bot for you. Later you can adjust settings such as take-profit, trailing features, and indicators to personalize your bot.
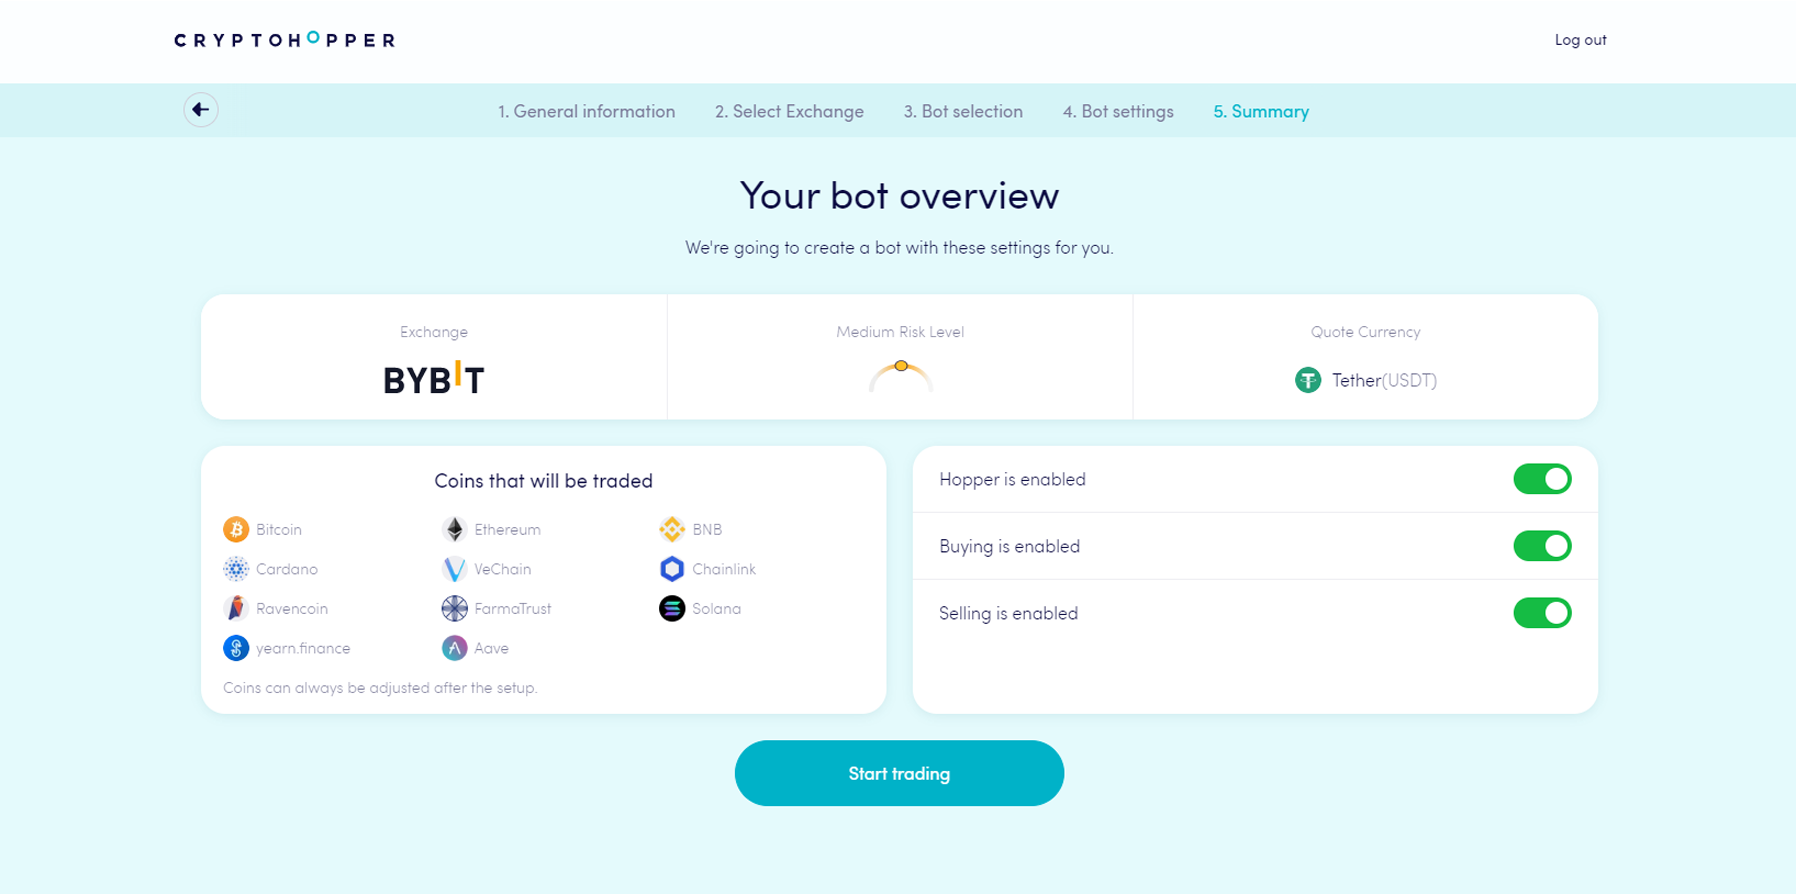
8. Ready, set, go: your summary
Your bot is ready to trade. Review the settings, turn it on or off, and enable buying and selling. All settings can be enabled on your dashboard later.
